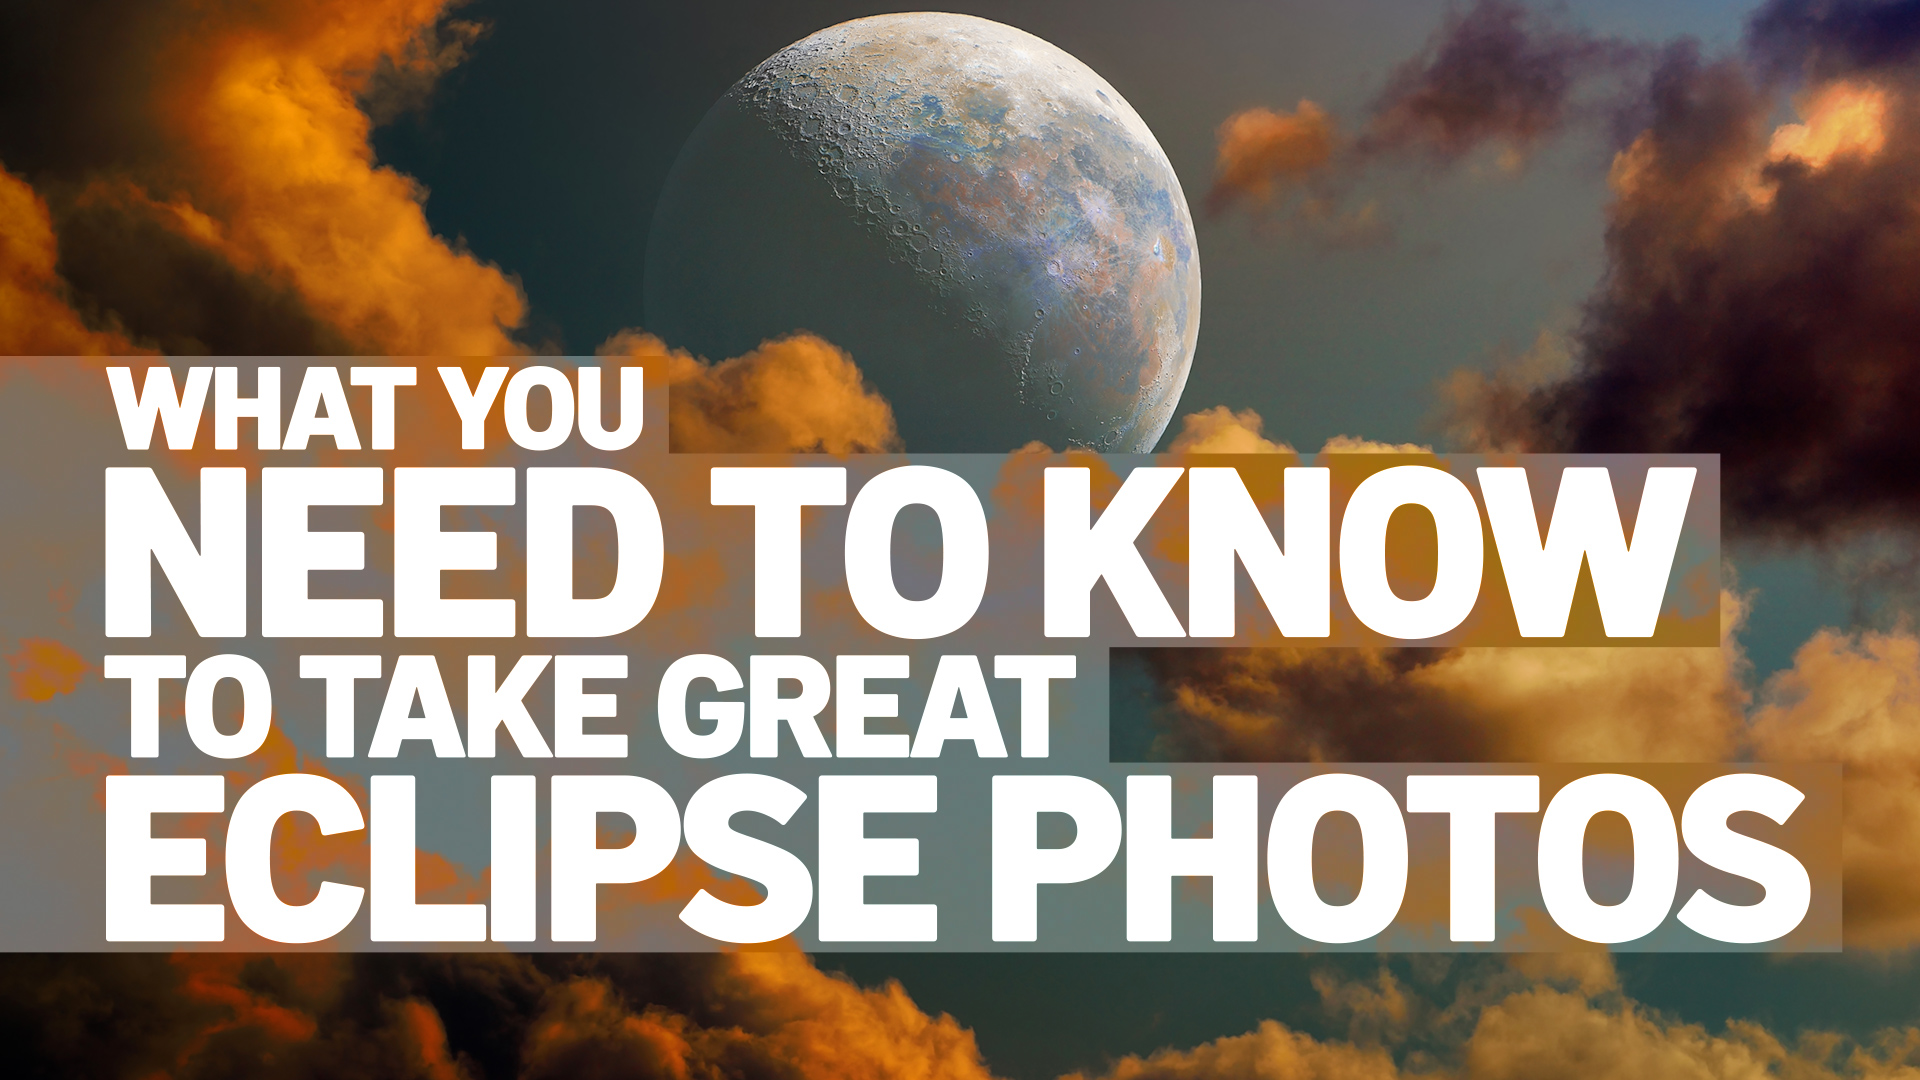
On April 8, people all across North America will have the opportunity to witness a celestial sensation: a total solar eclipse.
A solar eclipse happens as the moon moves between the Earth and the sun, casting a shadow that briefly turns day into night for those along its path. For those in the contiguous United States, there won't be another visible eclipse until 2045, making this a special moment worth capturing.
If you are lucky enough to be one of the 44 million people living in the path of totality, or are traveling to see the eclipse, we’ve put together a brief guide on taking the best photos possible using your Android or iPhone.
Feeling out of the loop? We'll catch you up on the Chicago news you need to know. Sign up for the weekly Chicago Catch-Up newsletter here.
Things to bear in mind
Prioritize safety. Remember to never look directly at the sun (during an eclipse or otherwise) without appropriate eye protection.
Manage your expectations. Smartphones, despite their advancements, cannot replicate the detailed celestial photography of professional equipment. Most smartphone light sensors measure just 1/2.55 inches across, while a DSLR camera sensor averages an inch plus in diameter. Smartphones also typically have digital zoom, as opposed to a DSLR’s optical zoom, which leads to reduced quality the further you zoom in. However, with a bit of preparation, practice, and the right equipment, you can still achieve impressive results.
Record, don't stream. The best areas for viewing the eclipse may also have limited cellular service. While it may be tempting to live stream your experience, to ensure you capture the best footage, record the eclipse and send it later.
Gather your equipment
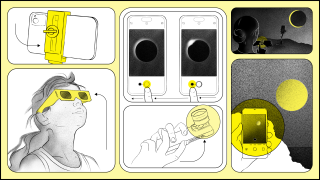
Sunglasses won't cut it! At minimum, be sure to have a pair of eclipse glasses or a safe handheld solar viewer to protect your vision. Safe solar viewers and glasses are much darker than regular sunglasses, and should comply with the ISO-12312-2 international standard according to NASA.
It is possible that prolonged exposure to the sun can damage smartphone camera lenses, but it is generally considered safe if done briefly. Recent smartphones with larger, faster lenses may be at greater risk. To err on the side of caution, a $10 solar filter (or an extra pair of eclipse glasses, affixed to your phone with tape) can protect your camera’s lens. You can use this filter before and after totality.
A smartphone tripod can help reduce tremor and produce crisp images at low light, and is especially important if you want to take a video of the eclipse. Options here include the GorillaPod and the Manfrotto Mini Tripod. If you already have a tripod for other types of cameras, you can purchase a special mount to attach your phone to the unit.
A clip-on telephoto lens attachment can enhance clarity and magnification for detailed shots by increasing focal length. Since a telephoto lens will magnify the intensity of light hitting the camera’s sensor, you may opt to use a solar filter if you go this route to protect your phone. Popular providers of telephoto lenses include Olloclip and Moment.
If you really want to invest in your astrophotography setup, manufacturer Hestia offers a Telescope Eclipse Package, a telescope add-on for your smartphone camera.
Get your settings right
Go manual: Although you can use your phone’s automatic camera settings, customizing your manual settings may lead to a better result. Some phones will allow you to do this natively – it’s often called “Pro” or “Professional” mode – while others will require a third-party app.
If you do opt to go manual, it may be helpful to understand some basic terms that manual interfaces or apps might refer to. In photography, the “exposure triangle” is a concept used to explain how ISO, aperture and shutter speed work together.
ISO adjusts your camera’s sensor sensitivity to light. Lower ISO values makes the sensor less sensitive to light, which is ideal for brighter environments, while higher ISO values increase the sensor’s sensitivity to brighten your shots.
Shutter speed refers to the duration for which your camera’s shutter remains open and how much light accesses the sensor. Faster speeds result in less exposure and will make images sharper. Slower speeds let light in for longer but risk blur.
Aperture controls the width of the camera’s “eye.” Wider apertures (a lower f-stop) let in more light, and narrower apertures (a higher f-stop) let in less, sharpening the scene. Most smartphones don’t include the ability to control the aperture, so no need to worry about this here.
Shoot in RAW: RAW files preserve the full spectrum of data captured by your camera’s sensor, giving you a range of options when editing your images later. Some smartphones have the ability to shoot still images in RAW format. If your phone doesn’t allow you to shoot in RAW mode, there are a number of apps you can choose from. Make sure you have enough space on your phone to shoot in this format, since each RAW photo will take up around 25MB of space (HEIC files only require 1MB).
To shoot in RAW on iPhone, go to Camera within the Settings app. Select Formats and toggle the Apple ProRAW switch on under Photo Capture. When you open the Camera app, you will notice that the RAW icon at the upper right of the screen is initially crossed out. The strikethrough will disappear when tapped, indicating that RAW mode is now being used for taking photos.
Adjust exposure: Experiment with different exposures for the partial phases and totality.
Most phones will automatically set focus and exposure depending on the subject. To adjust exposure manually, tap the screen. A box will appear. Tap and drag the sun icon up or down to adjust the amount of light in the image.
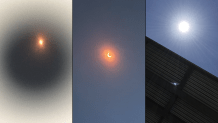
Don’t zoom in: If you are not using a telephoto lens, resist the temptation to zoom in. Doing so will lead to a lower resolution, heavily pixelated image. Use a super wide angle or portrait mode instead.
To activate ultra wide angle mode on your iPhone, open the Camera app and tap “0.5” just above the shutter. To activate portrait mode, swipe horizontally to rotate through modes until you select portrait mode.
Lock your focus during totality: Once just a sliver of the sun is visible through your eclipse glasses, focus your camera on something in the middle distance and lock your focus by pressing and holding that subject. The camera will usually indicate that focus is locked with an onscreen label or lock icon.
Turn off your flash: Be sure to turn off your flash to avoid disturbing fellow eclipse viewers. Using flash will not help capture the eclipse anyway.
Most phones’ camera apps use a lightning bolt icon to represent the flash. Tap the icon to toggle the flash on and off.
Practice makes perfect
Practice low-light photography ahead of time: Time will be limited during the eclipse, so spend some time practicing beforehand. The best times to practice are during a full moon, to get familiar with how large the eclipse will appear with your phone’s lens, and just after sunset, to get a sense of the level of light during the eclipse.
Experiment with low-light photography apps: You may want to try out different apps designed for night photography.
- NightCap Camera: Specializes in long-exposure, low-light, and night photos, including videos and 4K time lapses.
- Nightcam: A manual camera app tailored for night photography, giving you control over exposure settings.
- Night Mode Camera Photo Video: Enhances your Android's ability to take photos in low luminosity, making it suitable for the dim light of an eclipse.
Plan your shot: If you want to go a step further, you can see how the eclipse will appear at different times using NASA’s simulator to plan your composition ahead of time.
The big moment (Totality)
Set up your shot: As totality approaches, set up your tripod or stabilize your phone against a steady object and use your camera’s timer or smart watch to take a shot. This gives your setup plenty of time to settle and produce vibration-free images.
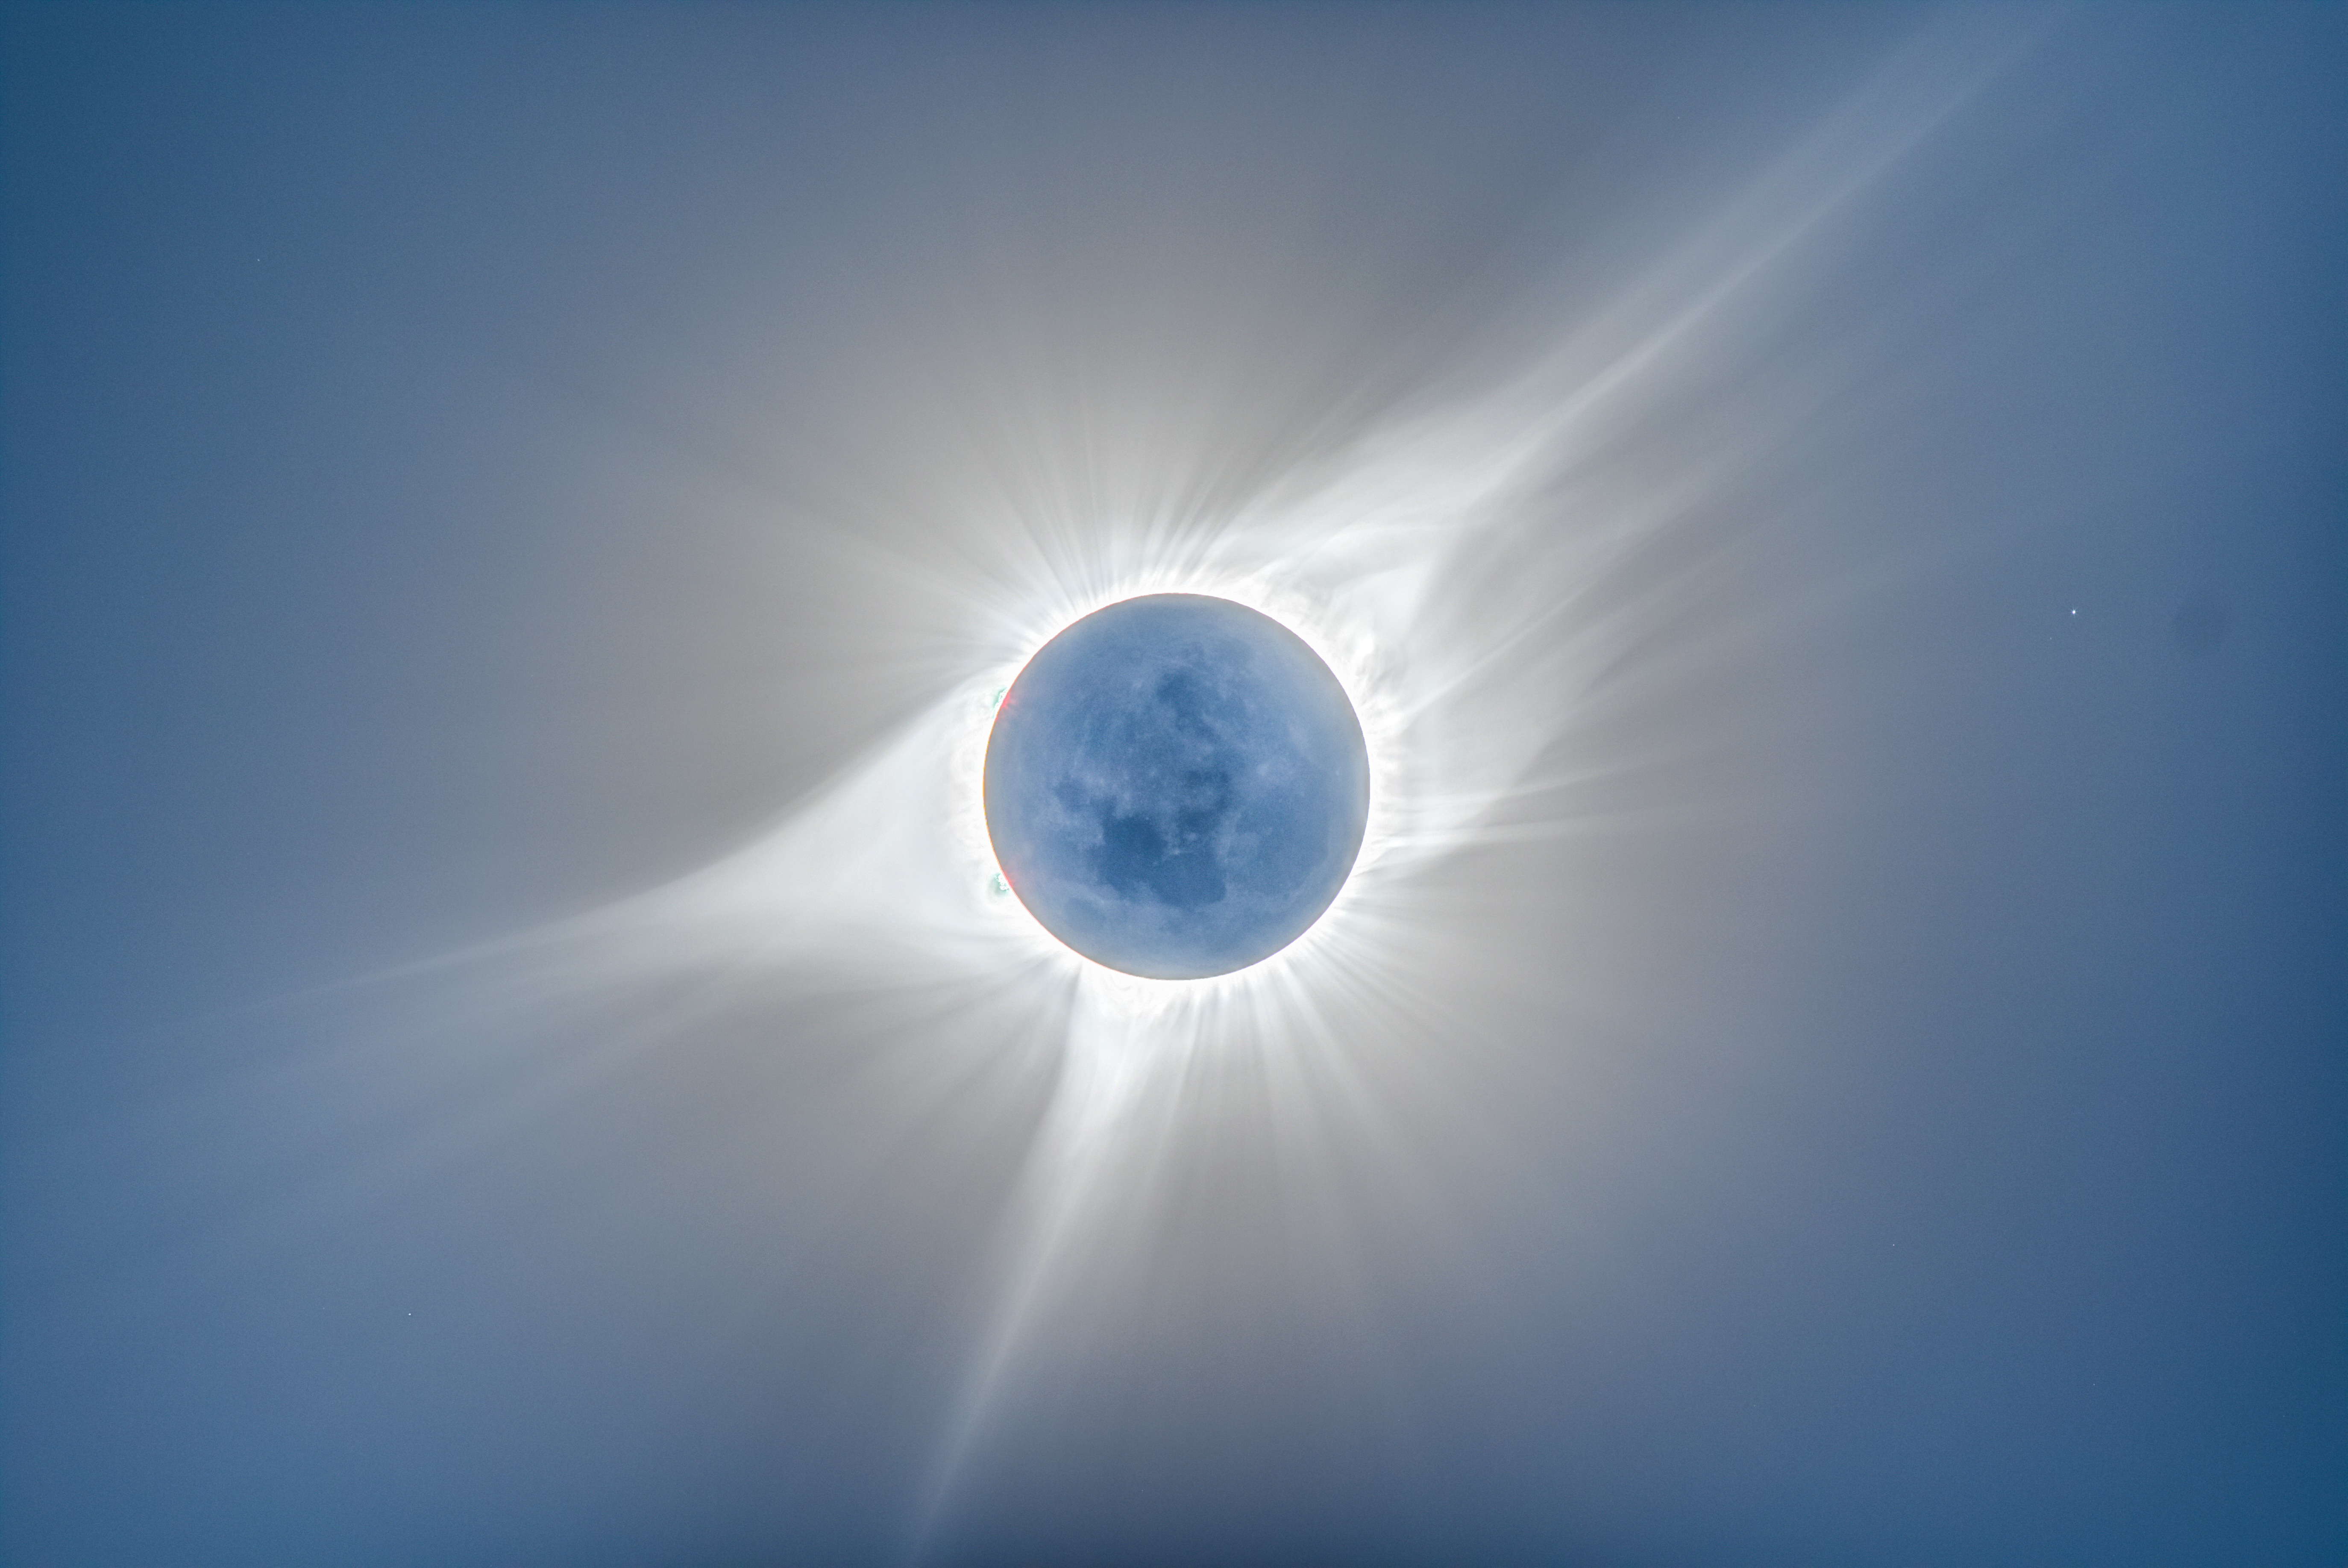
Use continuous shooting mode, or Burst mode, just before totality: Continuous shooting mode allows you to snap a series of photos with one swipe. Before the sun goes completely dark, use burst mode to capture “the diamond ring” – the final bead of sunlight. After you have taken your shots, you will be able to select the optimal frame.
If you are in the path of totality, remove your glasses and filter: Since the moon will make the month's closest approach to Earth on the eve of the eclipse, it will appear larger in the sky during the event, causing an extra-long period of totality that will last up to 4 minutes and 28 seconds. While the moon fully obscures the sun you can safely remove your glasses (and the solar filter from your phone's lens if you're using one) to fully see the eclipse. If you are outside of the path of totality, you should keep your eclipse glasses on.
Capture the scene: It’s also a great time to take photos of the atypical scene around you, including crescent-sun shadows and the abnormal midday darkness.
Experience the eclipse: And finally, don't miss experiencing the event directly! This can be a surprisingly moving moment, so be sure to check out the eclipse with your own eyes.